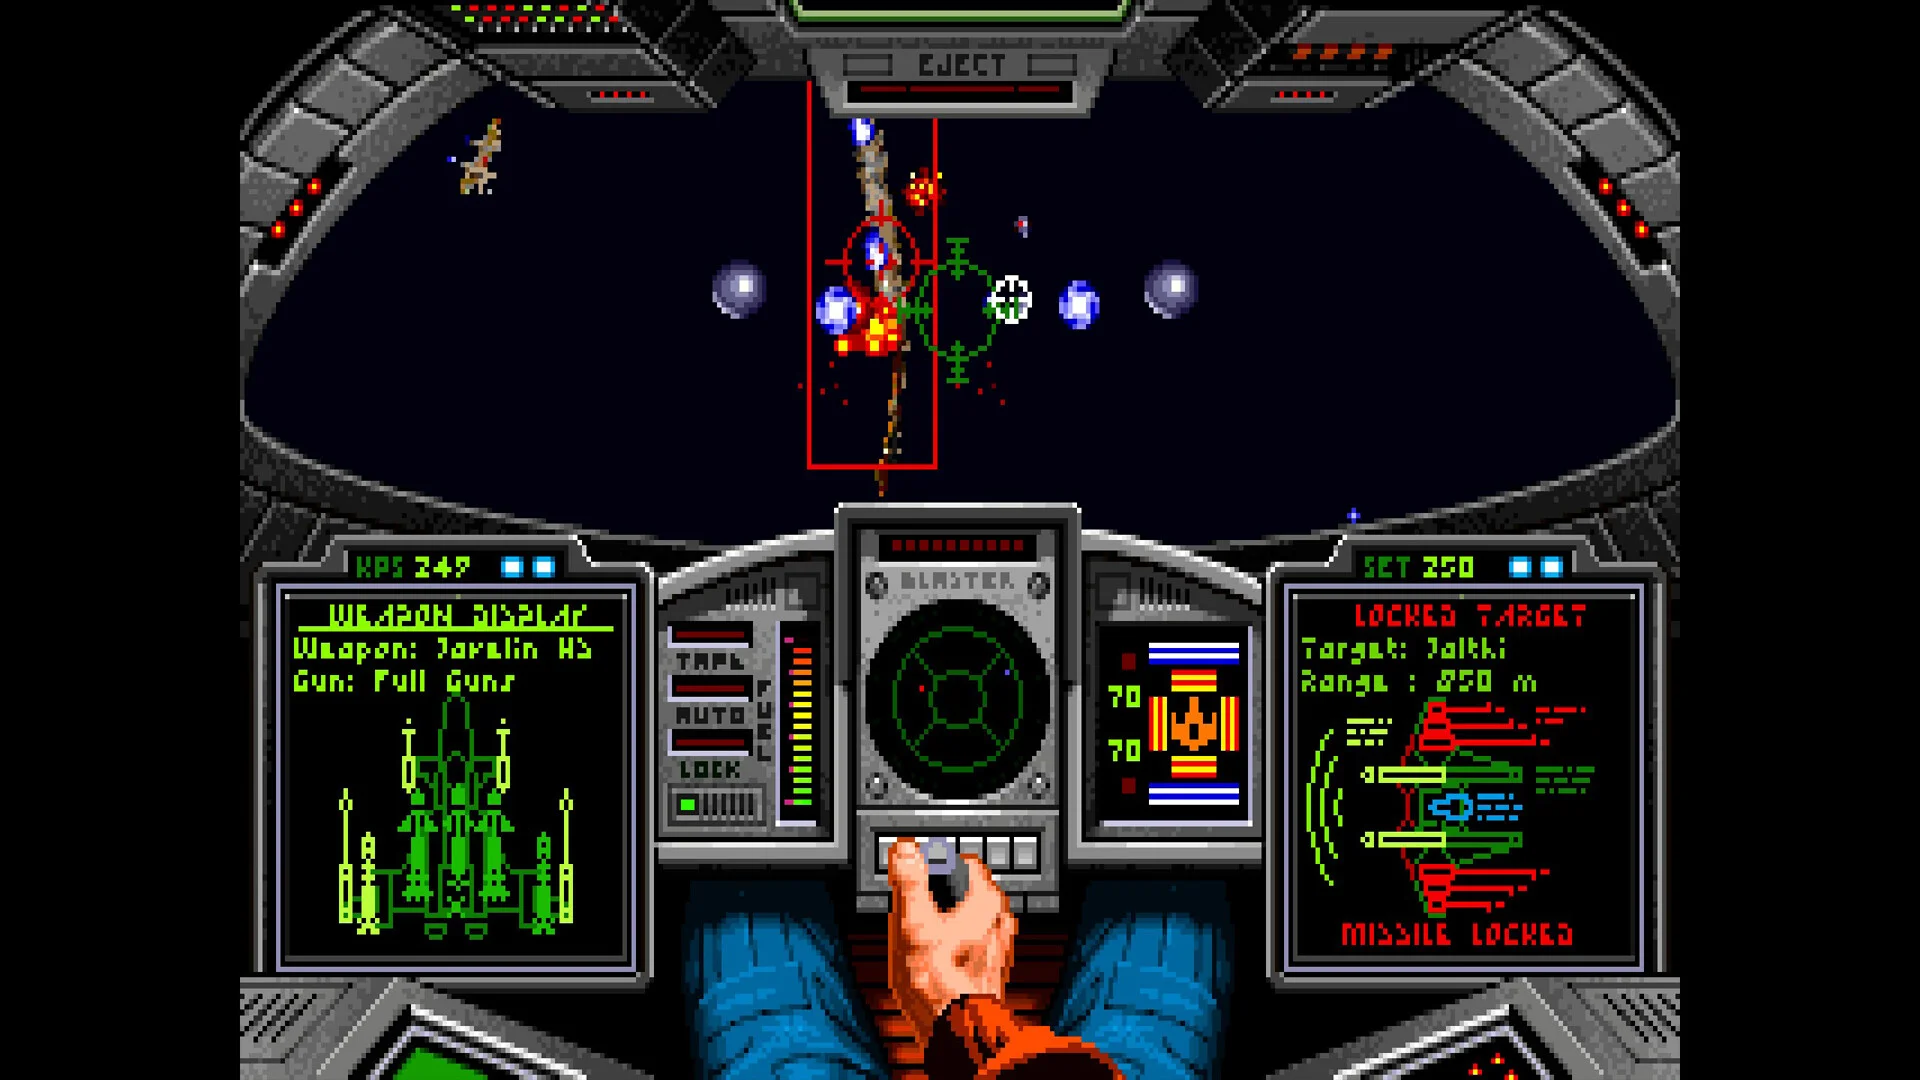
- Wing Commander 35th Anniversary Edition missions reward objective-focused flying over reckless kill chasing.
- Mission briefings reveal the priority target, escort route, threat level, and likely support requirements.
- Wingmen commands are most valuable when protecting bombers, transports, landing craft, or damaged allies.
- Combat discipline means conserving afterburners, missiles, shields, and ammunition for the decisive phase.
- Mission reviews help identify whether failure came from combat, navigation, timing, or objective protection.
Wing Commander 35th Anniversary Edition missions: How Objectives Work
Wing Commander 35th Anniversary Edition missions are best approached as structured operations rather than simple space battles. A sortie may ask you to escort a friendly vessel, clear a patrol route, defend a carrier, inspect a location, or destroy a specific target. The mission is successful when the required objective is completed, even if the final tally is not the highest possible.
Before launching, read the briefing for four pieces of information:
- Primary objective: The task that determines mission success.
- Secondary objective: An optional task that can improve the result or preserve allied assets.
- Threat pattern: The expected enemy strength, likely direction, and timing.
- Return condition: The point at which you should disengage and head back to the carrier.
| Briefing Element | What to Identify | Recommended Response |
|---|---|---|
| Primary objective | Escort, patrol, strike, rescue, or defense | Stay close enough to respond immediately |
| Friendly asset | Transport, shuttle, bomber, marine craft, or fighter wing | Treat it as the center of the formation |
| Enemy threat | Interceptors, bombers, capital ships, or ambushes | Assign weapons and wingmen commands early |
| Mission phase | Approach, engagement, defense, or extraction | Change formation and speed as the phase changes |
Escort Missions
Keep the protected vessel within visual and sensor range. Clear attackers before chasing distant targets.
Strike Missions
Reach the target with enough missiles, shields, and wingman support to survive the withdrawal.
Defense Missions
Stay near the defended location and prioritize enemies that can damage it quickly.
Recon Missions
Avoid unnecessary engagements until the required scan, inspection, or contact objective is complete.
Treat the briefing as a tactical plan. The first target you see is not always the target that matters most.
Mission Preparation and Loadout Choices
A strong sortie begins before launch. Choose weapons according to the mission profile instead of selecting the same loadout for every operation. Interceptor-heavy missions favor responsive guns and reliable tracking weapons, while bomber or capital-ship attacks require concentrated damage and careful ammunition management.
Your ship should support the objective. A fast configuration can reach a distant waypoint quickly, but it may be less forgiving when defending a slow transport. A heavier configuration can absorb more punishment, yet it may struggle to intercept threats before they reach the protected asset.
| Mission Type | Priority | Useful Preparation |
|---|---|---|
| Escort | Intercept attackers quickly | Balanced guns, tracking missiles, dependable shields |
| Anti-bomber patrol | Stop high-damage threats | Fast approach speed, accurate guns, reserve missiles |
| Capital-ship strike | Deliver damage and withdraw | Heavy ordnance, shield awareness, escape route |
| Recon or inspection | Reach and survive | Efficient energy use, defensive weapons, route awareness |
| Carrier defense | Control the immediate area | Flexible loadout, strong rear awareness, wingman support |
Use the following preparation order:
Read the Objective
Identify the exact action that completes the mission. Do not assume that destroying every hostile craft is required.
Check the Route
Note the expected waypoint, escort path, protected asset, and likely direction of enemy contact.
Choose Weapons
Match your weapons to the largest threat. Preserve high-value ordnance for bombers, capital ships, or the final defense phase.
Assign Wingmen
Give offensive orders when approaching a priority target and defensive orders when an allied asset is under pressure.
Set a Withdrawal Plan
Decide when to disengage. A completed objective is more valuable than unnecessary pursuit after the mission turns successful.
A weapon-heavy configuration can make a mission easier to finish but harder to survive. Keep enough defensive capacity for the return trip.
Escort, Defense, and Convoy Tactics
Escort missions are often decided by positioning rather than aim. The protected vessel usually moves predictably, giving enemy fighters a chance to attack from several angles. If you fly too far ahead, incoming attackers may reach the convoy before you can turn back. If you remain directly behind the vessel, you may lose the initiative against enemies approaching from the sides.
Use a layered defense:
- Outer screen: Intercept enemies before they reach the escort route.
- Inner screen: Destroy attackers already targeting the protected vessel.
- Emergency response: Break off from a distant fight when the escort begins taking serious damage.
- Extraction control: Clear the immediate area before ordering the convoy or landing craft to continue.
| Threat | Warning Sign | Best Response |
|---|---|---|
| Interceptor group | Fast contacts closing from multiple angles | Split attention and eliminate the closest attackers |
| Bomber group | Slow, heavily armed craft approaching the escort | Make bombers the first priority |
| Rear attack | Escort takes damage while you chase forward targets | Turn back immediately and reposition behind the convoy |
| Reinforcement wave | New contacts appear after the first engagement | Preserve missiles and avoid overextending |
| Capital-ship threat | Large hostile contact near the route | Protect the escort while preparing a controlled withdrawal |
Wingmen are especially useful when their orders match the current phase. Offensive commands can help remove a dangerous target, but defensive commands are often better during a convoy crisis. Do not leave every decision to the wingmen; use them to create pressure while you control the most urgent threat.
The convoy is the mission. Enemy kills are useful only when they help the protected asset reach its destination.
Dogfights, Energy Management, and Withdrawal
Dogfights become easier when you separate pursuit from protection. A turning fight near the mission objective can expose a transport, carrier, or landing craft to another attack group. Before chasing a damaged fighter, check the tactical situation and confirm that no higher-priority target is approaching.
Use short bursts of afterburner to create distance, reach a threatened ally, or line up a missile attack. Continuous boosting can leave you without the acceleration needed during the final phase. The same principle applies to ammunition: guns are dependable for routine engagements, while missiles should be reserved for targets that threaten the mission outcome.
| Combat Situation | Preferred Action | Common Mistake |
|---|---|---|
| One fighter isolated | Use guns and maintain a controlled turn | Spending a missile on a low-risk target |
| Multiple fighters | Break the formation and attack the nearest threat | Staying in the center of the group |
| Bomber approaching | Intercept immediately and use focused fire | Chasing an already damaged interceptor |
| Damaged ship | Reduce exposure and plan a return route | Continuing toward optional targets |
| Objective complete | Disengage and regroup | Treating extraction as another attack wave |
When your shields or armor are weakening, change your goal from winning the fight to preserving the mission result. Fly toward friendly support, reduce unnecessary turns, and avoid entering a new engagement without a clear reason. A controlled retreat is a tactical decision, not a failure of skill.
Before Launch Checklist:
- Confirm the primary and secondary objectives
- Identify the protected or escorted friendly asset
- Match weapons to the largest expected threat
- Assign wingman orders before the first engagement
- Reserve fuel, ammunition, and shields for extraction
If the objective is complete and your ship is damaged, prioritize survival and extraction over an improved kill count.
Mission Results, Branches, and Replay Priorities
Mission performance is usually shaped by more than the final number of enemy ships destroyed. Protecting allied units, completing optional tasks, and reaching the extraction point can all influence how the campaign develops. When a mission goes poorly, replay it with one specific adjustment rather than changing every part of your approach.
Use the mission result to diagnose the problem:
| Result Pattern | Likely Cause | Replay Adjustment |
|---|---|---|
| Primary objective failed | Priority target was missed or protected asset was lost | Stay closer to the objective and monitor its status |
| Objective succeeded with heavy damage | Engagement lasted too long | Use missiles earlier and disengage sooner |
| Friendly units lost | Threats were intercepted too late | Maintain an inner defensive screen |
| Low personal score | Too many targets were left to wingmen | Take a larger role in the opening engagement |
| Extraction failed | Resources were spent before the final phase | Preserve afterburners, shields, and ordnance |
A practical replay method is to change only one variable:
- Keep the same route but issue different wingman orders.
- Keep the same weapons but avoid optional combat.
- Keep the same combat plan but remain closer to the protected vessel.
- Keep the same tactics but reserve ammunition for the final wave.
This makes it easier to determine what actually improved the result. It also prevents overreacting to a single difficult encounter.
Review the mission in phases: approach, first contact, objective action, reinforcement wave, and extraction. The failure point usually becomes clear when separated this way.
Frequently Asked Questions
Q: What is the best general strategy for Wing Commander 35th Anniversary Edition missions?
Read the briefing carefully, identify the primary objective, stay near the protected asset, and conserve key resources for the final engagement and extraction.
Q: Should I destroy every enemy fighter during a mission?
No. Destroy enemies that threaten the objective first. Chasing distant or optional targets can expose a convoy, carrier, or landing craft to another attack.
Q: When should I use wingman offensive commands?
Use offensive commands when approaching a high-priority target or when you need to divide enemy attention. Switch to defensive commands when an allied asset is under pressure.
Q: How can I improve after failing an escort mission?
Identify whether the failure came from distance, target priority, resource use, or extraction timing. Replay the mission while changing one factor, such as staying closer or saving missiles.
The most consistent pilots treat every sortie as an objective exercise: prepare for the threat, protect what matters, and leave before unnecessary combat turns success into failure.